Marketo
Connecting to Marketo
Upon selecting the Marketo data source, you will see the following screen:
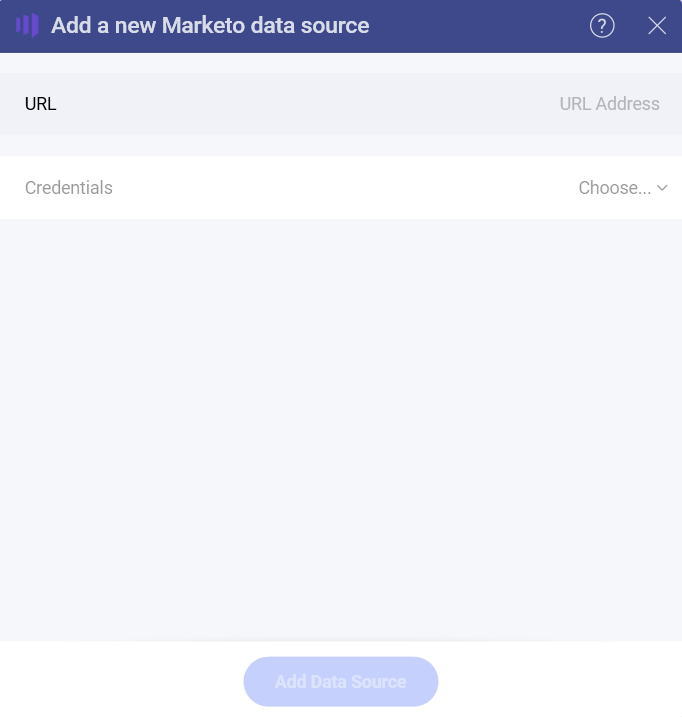
Marketo’s REST APIs are authenticated with 2-legged OAuth 2.0, so you need to complete the following information to configure your connection:
- URL - paste here the Identity URL you will find in your Marketo Admin panel.
- Credentials:
- Client ID
- Client Secret
Your Admin panel in Marketo contains the authentication elements listed above. For more information on how to find them, check the article about Authentication in Marketo's documentation.
If you need details about how to create the OAuth credentials you need, check out this article.
Setting Up Your Data
After logging in, you can set up your Marketo data in the following dialog:
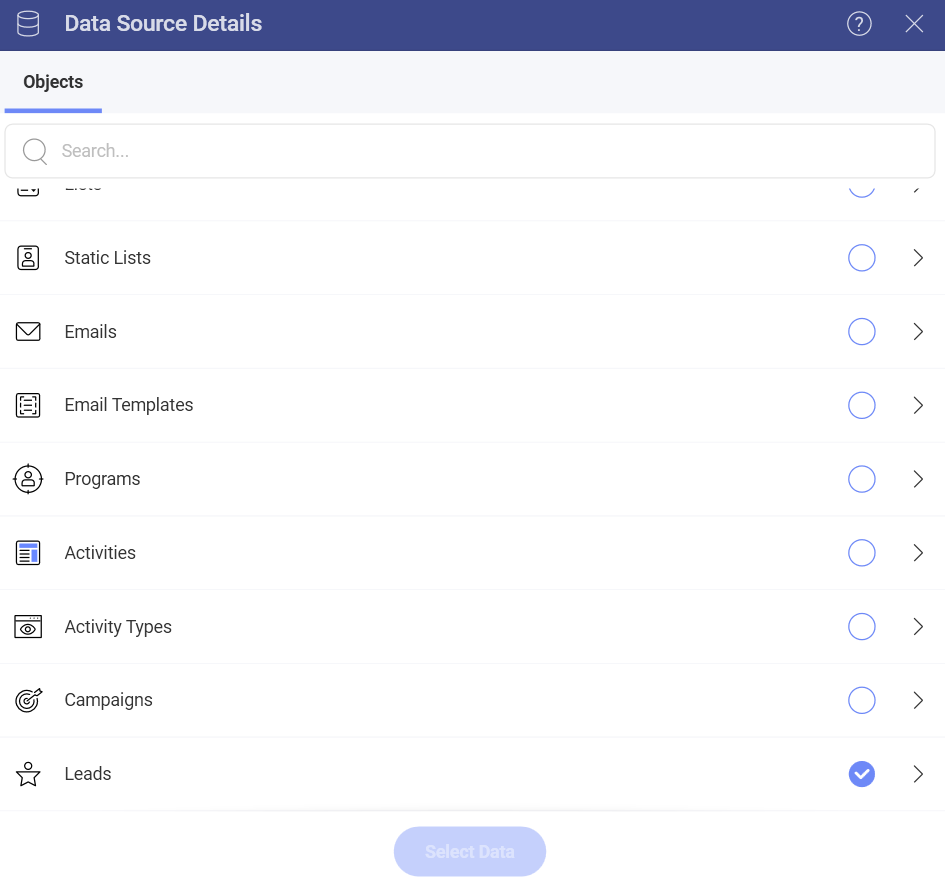
Activities and Leads objects require you to set two parameters - From and To (dates) to query the data, before you can continue to the Visualization editor. The date range must be no more than 31 days, incl. the first and the last day.
Note
Please, note that you may need to wait up to several minutes until your data from the Activities and Leads objects is loaded in the Visualization Editor.
Working in the Visualization Editor
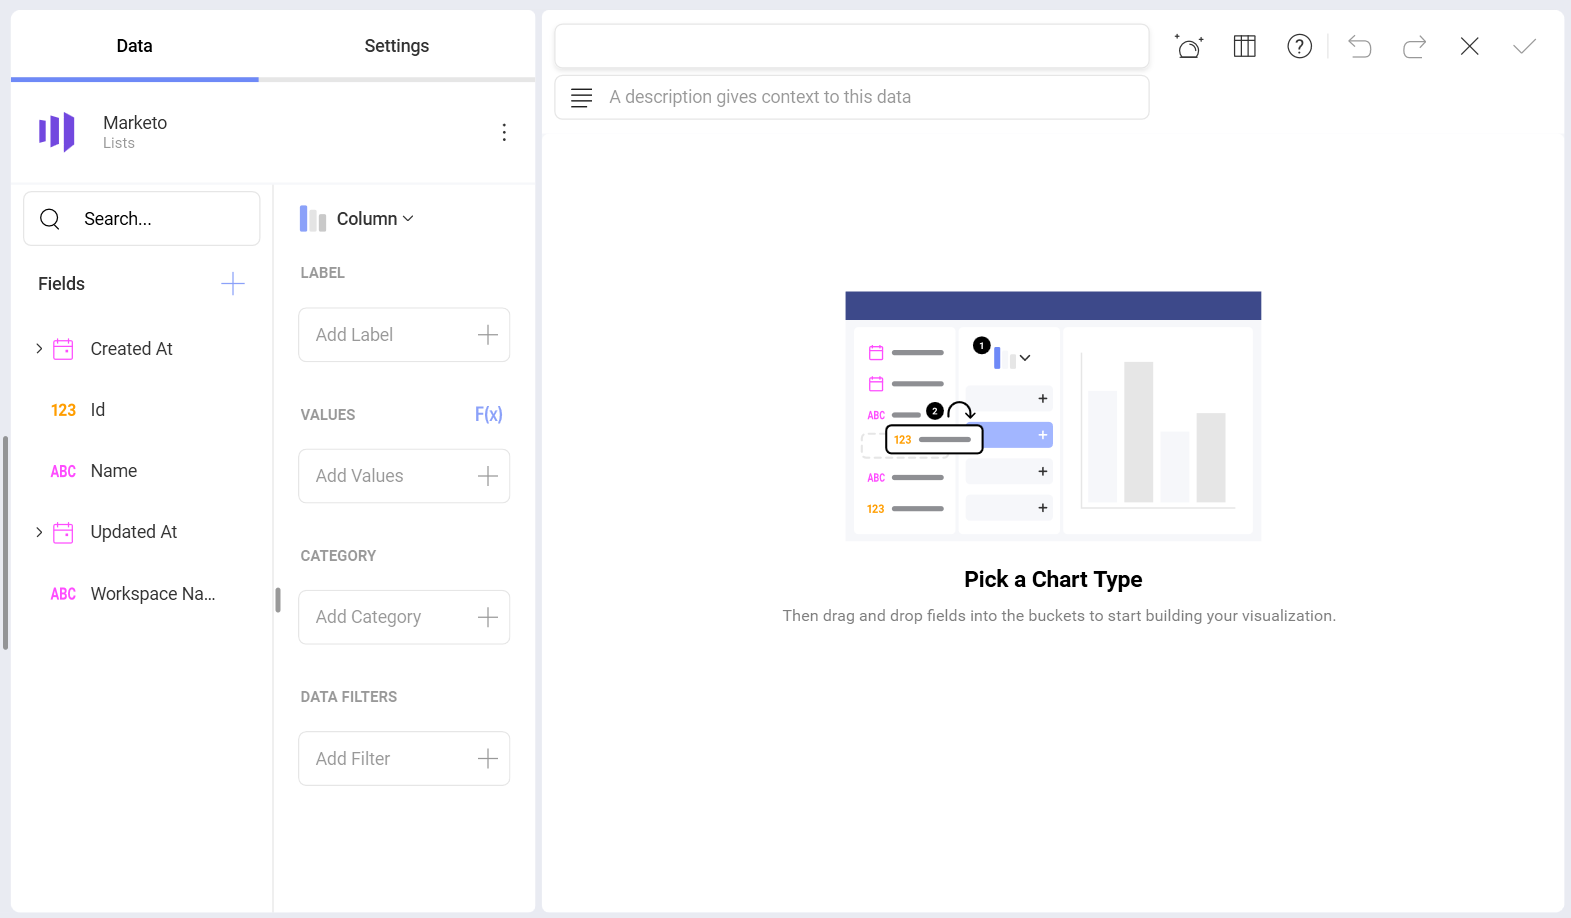
Once your data source has been added, you will be taken to the Visualization Editor. By default, the Column visualization will be selected. You can click/tap on it in order to choose another chart type. Keep in mind that based on the visualization that you have chosen, you will see different types of fields.
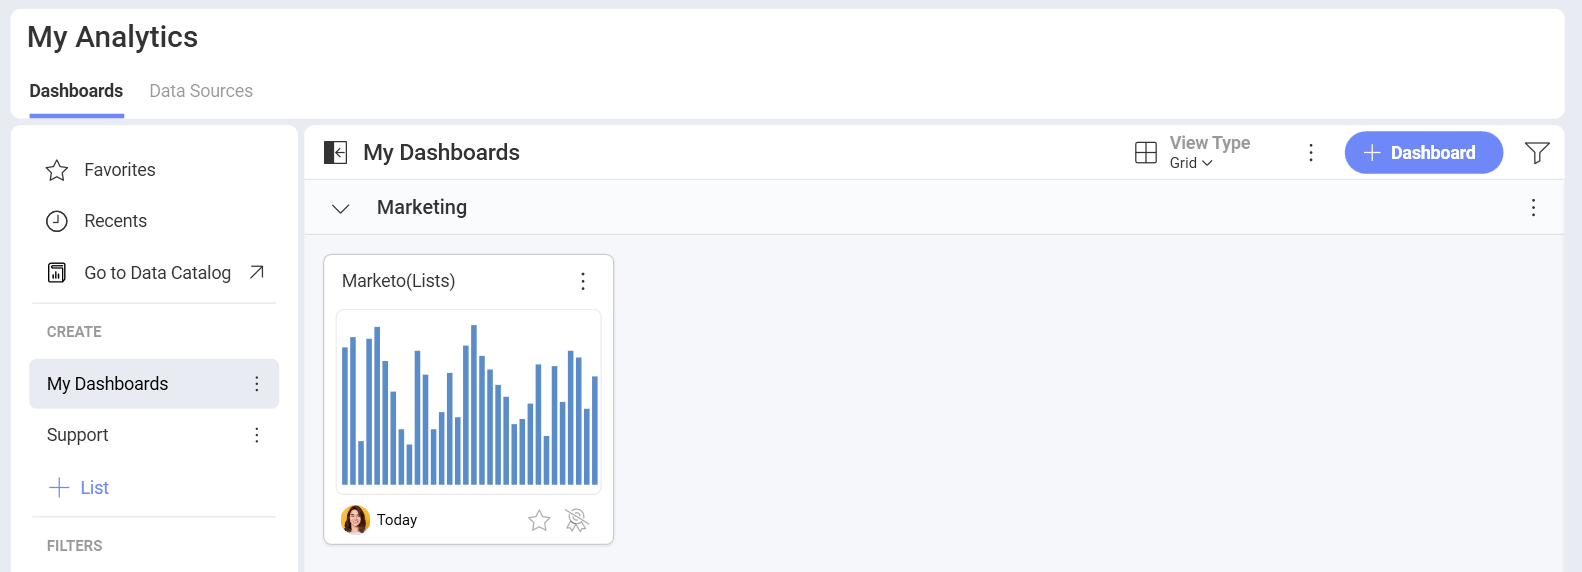
When you are ready with your visualization, you can click/tap on the checkmark in the top right corner to save it as a dashboard. In the example below we saved the dashboard in My Analytics ⇒ My Dashboards ⇒ Marketing.