REST API
The REST API data source in Analytics enables you to send GET, POST, and PUT HTTP requests to a unique URL in order to manipulate data via a web service.
The REST API data source also provides the possibility to change the received data by simply changing parameters' values in the URL in the midst of creating your visualization without losing your progress.
What is a REST API?
An API (Application Program Interface) allows two software programs to communicate with each other. All web services are APIs accessed through the web environment.
REST APIs (also referred to as REST web services) are based on REST (Representational State Transfer) - a group of architectural constraints, providing standards for communication between computer systems on the web. In the REST architecture, clients send requests to retrieve or modify resources, and servers send responses to these requests.
Connecting to a REST API
To configure a REST API data source, you will need to enter the following information:
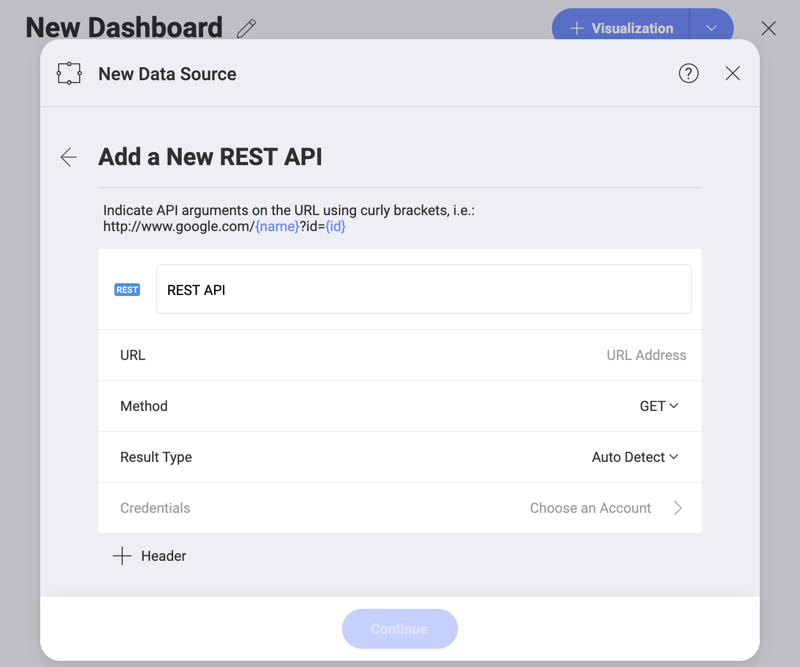
Default name of the data source: Your data source name will be displayed in the list of accounts in the previous dialog. By default, Analytics names it REST API. You can change it to your preference.
URL: the URL where the service is located.
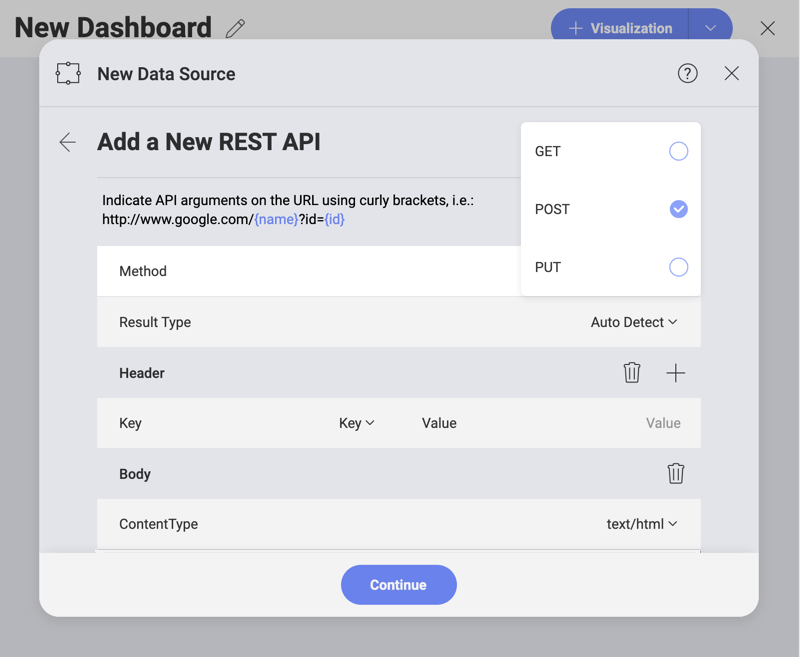
Method: from the dropdown menu, you can choose your preferred request type - GET, POST or PUT.
[!NOTE] Unsupported method. If the REST service does not support your method (e.g., POST), you will receive an error message.
Result Type: You can specify the file type you expect to be retrieved from the REST API. For example, if you choose .csv and the REST API responds with a JSON, Analytics will try to parse the file as a .csv.
If you choose Auto Detect, Analytics will use the information about the file (content) type, coming from the REST API to parse the file.
Credentials: after selecting Credentials, you will be able to enter the credentials for your REST API or select existing ones if applicable. You can also pick the No Account option.
Working with URL Parameters
Parameters are options you can pass in your URL to influence the response from the web service. You can provide path and query parameters in your URL when configuring the REST API data source.
To use parameters effectively follow the procedure below:
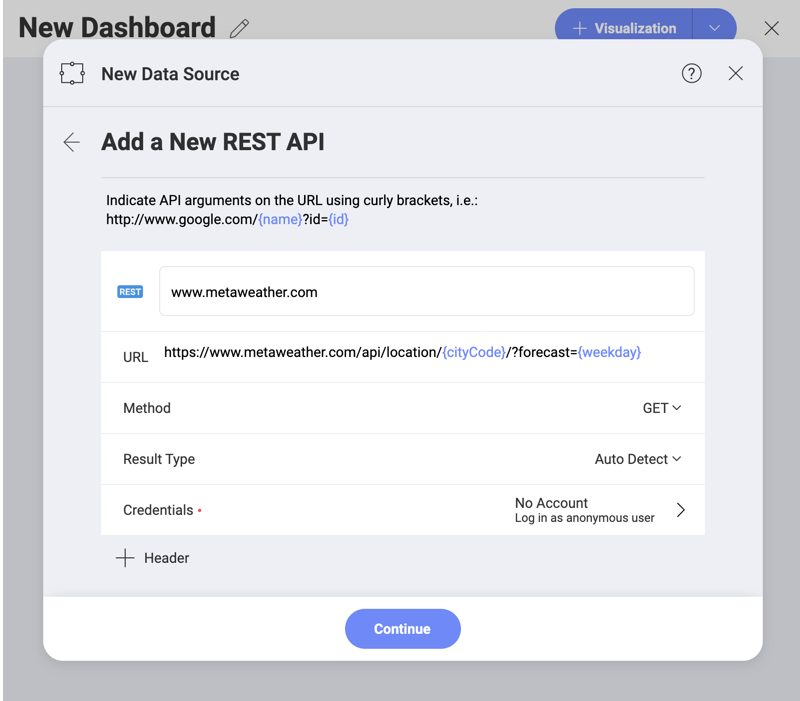
Provide parameters in the URL. You must put path parameters in curly braces and specify query parameters after a question mark (?). You can see in the example below both path, and query parameters are color-coded in blue to make them more easily identifiable.
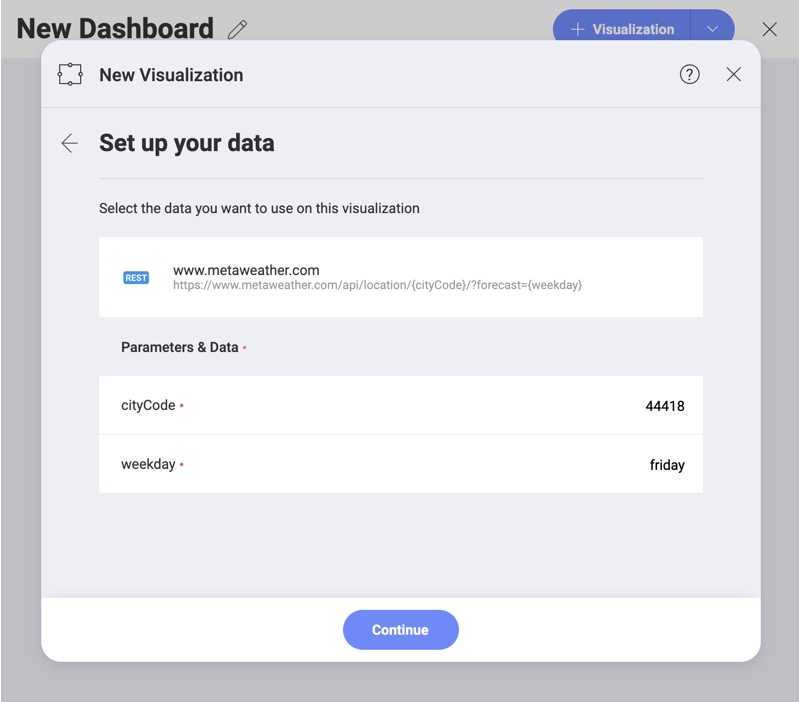
Add parameters' values. In the following screen specify the value of each parameter you have added in the URL.
As a result, the REST API service will respond with the data on the provided URL in a REST compliant format. Generally, you will receive a JSON file:
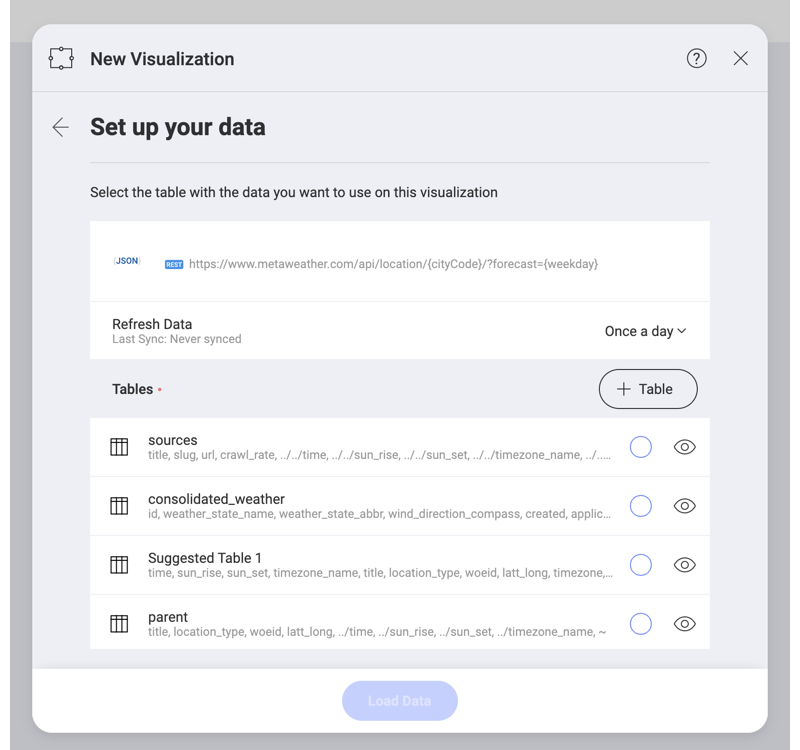
For more information on how to work with a JSON file, please refer to this topic.
After loading the data, you will continue to the Visualization Editor screen.
[!NOTE] Unsupported File Formats. If the REST API responds with a file format, which is not supported by Analytics (e.g., XML), you will not be able to create visualizations with the data in this file.
Change the parameters' values without losing your visualization data. Changing the parameters' values after you have started building your visualization offers a variety of possibilities. For example, you can change the city code path parameter for your weather rest API and have a new dataset loaded for this new city. The information for the visualization you have already built will be automatically updated with the new data.
To do this, click on the file icon in the upper-left corner of the Visualizations Editor screen.
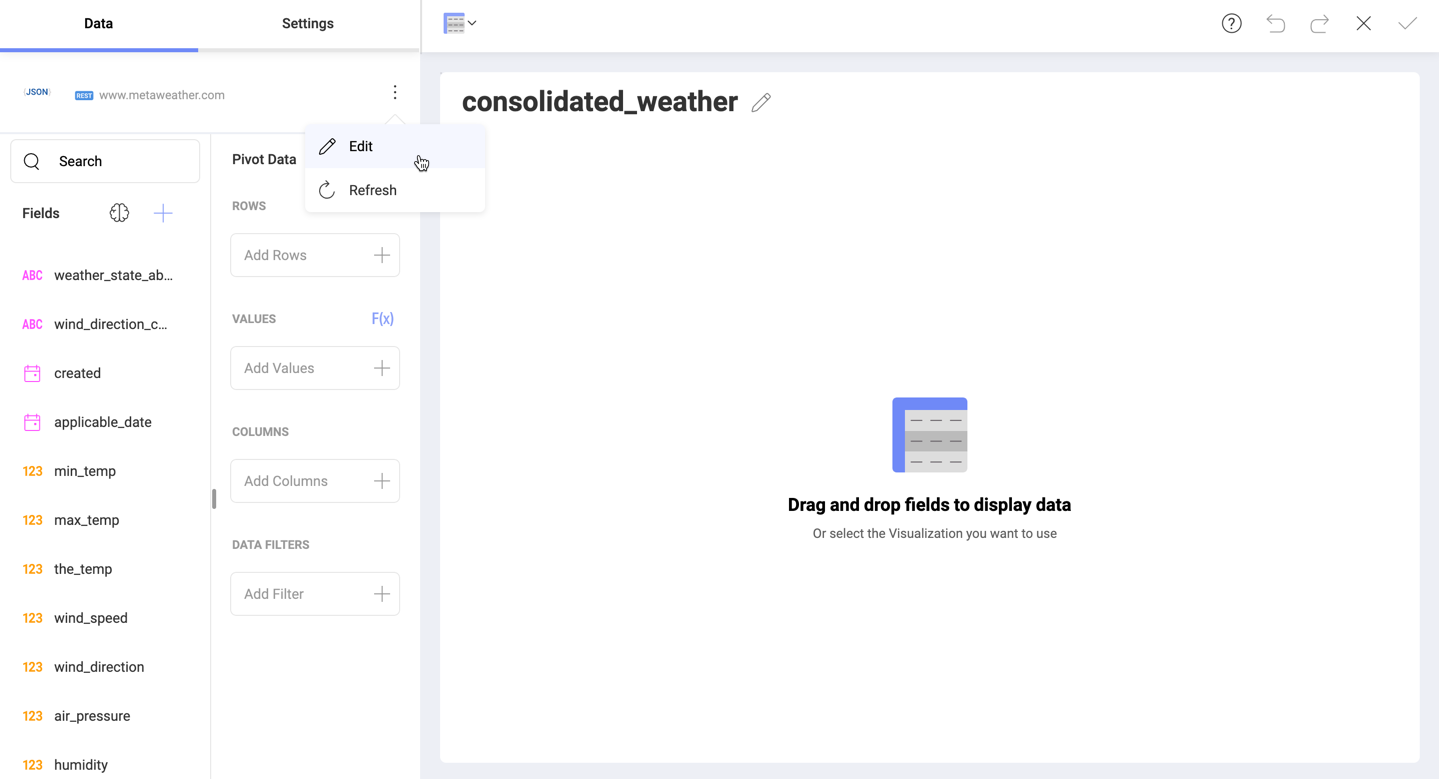
In the screen that opens, click/tap the REST API Parameters button.
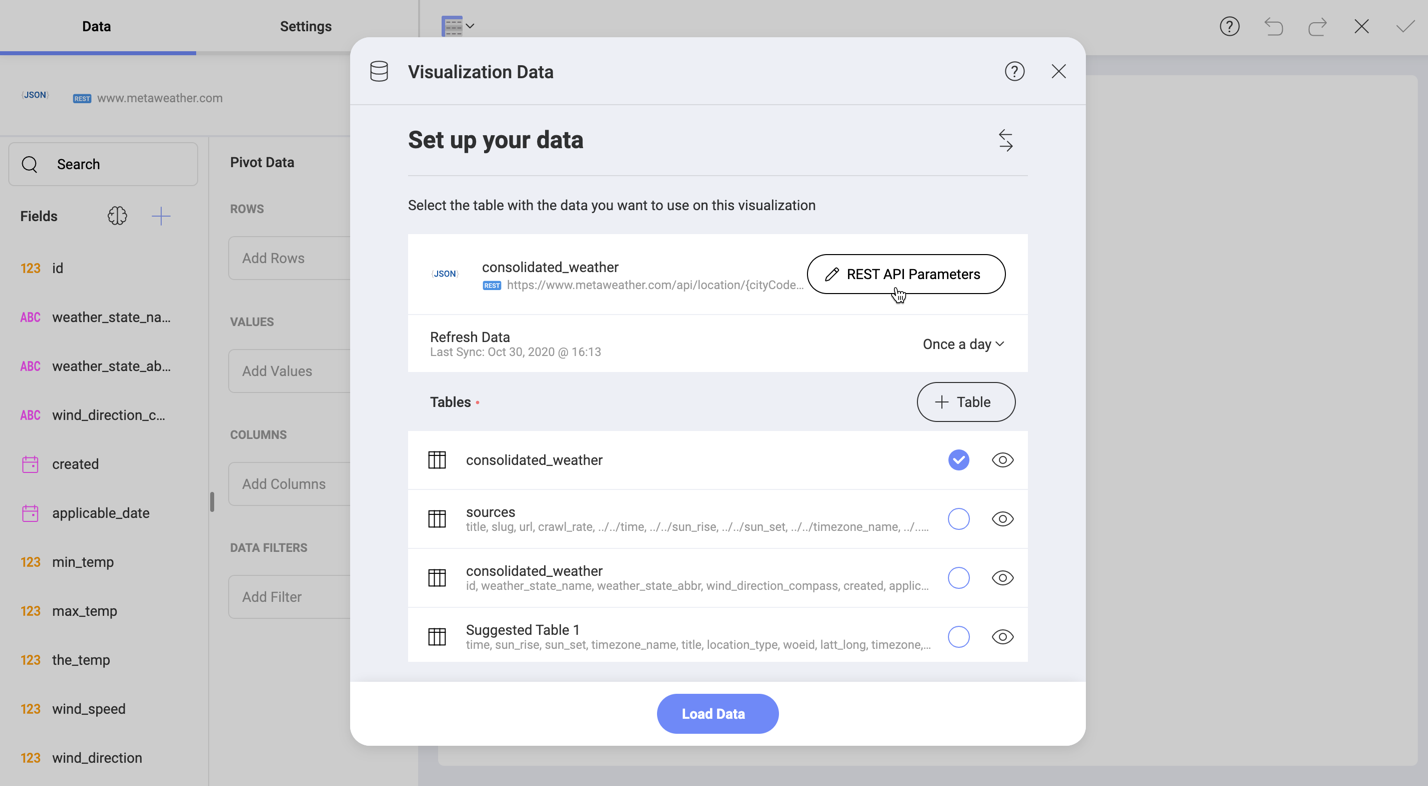
You will be redirected to the screen in step 2 where you can provide new values to your parameters.
Note
Losing Your Data Warning Sometimes when you change the values of your parameters, there might be a chance to lose the visualization you already created in the Editor. In this case, а warning message will appear when you click/tap the Load Data button. If you choose to continue, you will have the new dataset loaded in the editor and you will have to start building your visualization from scratch.
Choosing a Method
The Method in your REST API data source configuration represents a request used to interact with resources in a REST system. The request generally consists of:
A path to a resource (URL)
HTTP verb:
GET - to retrieve a specific resource
POST - to create a new resource
PUT - update a specific resource
A Header: allows the client to pass along information about the request
A Body: an optional message (when using POST and PUT methods) containing data
For more information about the Header and Body of a request, please refer to this link.