Snowflake
Connecting with Snowflake
To configure a Snowflake data source, you first need to connect to the server by entering the following information:
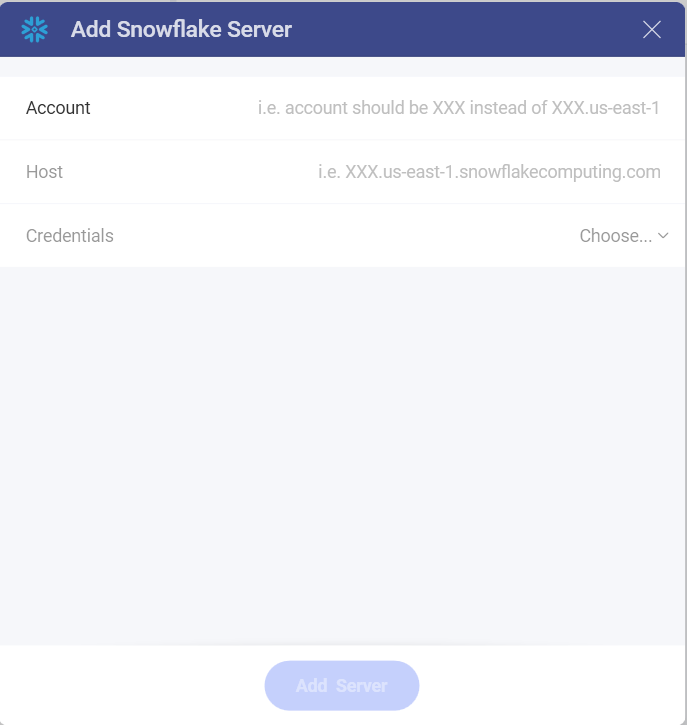
Account: Your snowflake account without the region or cloud provider information. For example, it should be similar to <account_name> instead of <account_name>.us-east-1.snowflakecomputing.com.
Host: Although not required, if no value is specified <account_name>.snowflakecomputing.com will be assumed. If you are not in the US West region or want to use a global URL, you need to specify a HOST with the format: <account_name>.<region_id>.snowflakecomputing.com.
Credentials: after selecting Credentials, you will be able to enter the credentials for your Snowflake server or select existing ones if applicable.
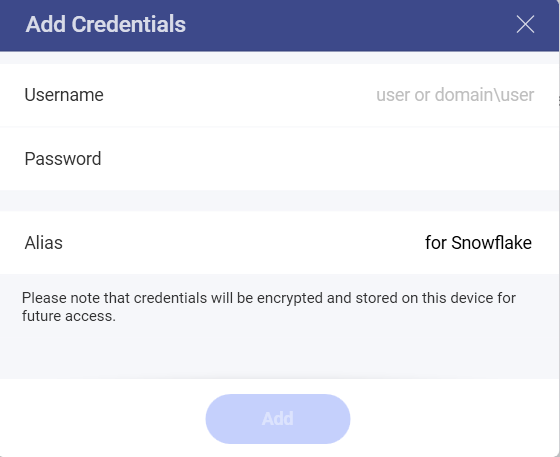
Username: the user account for the Snowflake server or the name of the domain.
Password: the password to access the Snowflake server.
Alias: the name for your data source account. It will be displayed in the list of accounts in the previous dialog.
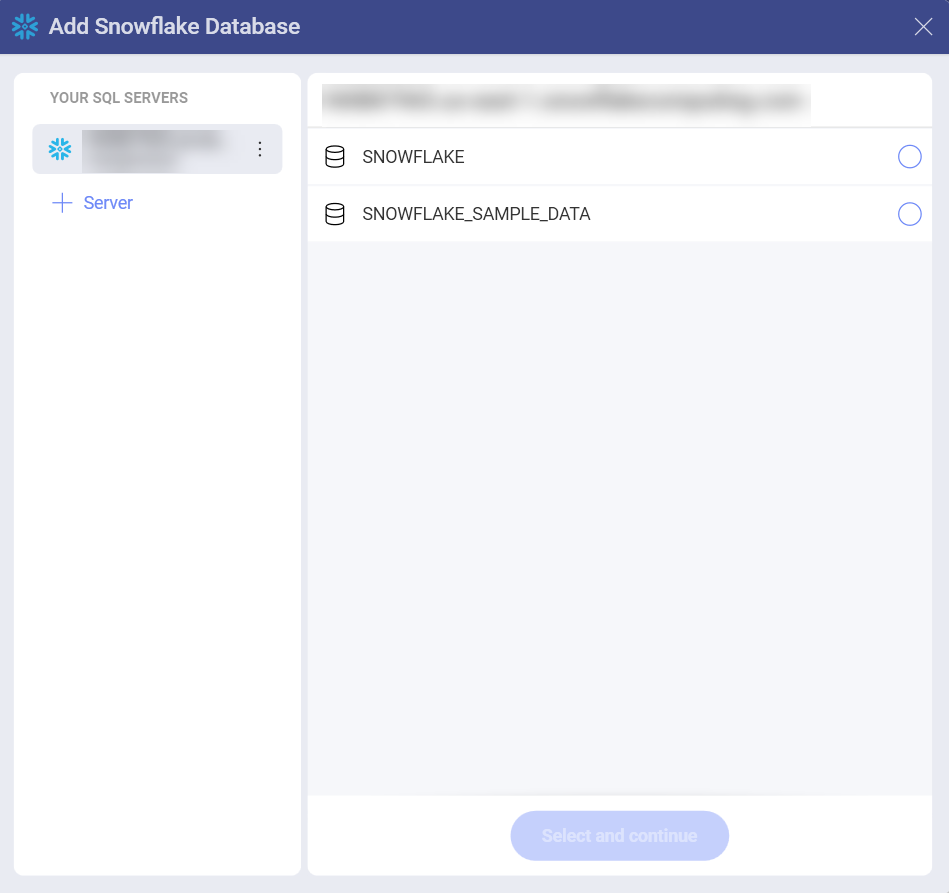
Configuring a Snowflake Data Source
Select a database by marking the empty circle next to it:
Select a table from the database. Use the icon on the right, next to the empty circles, to preview the data.
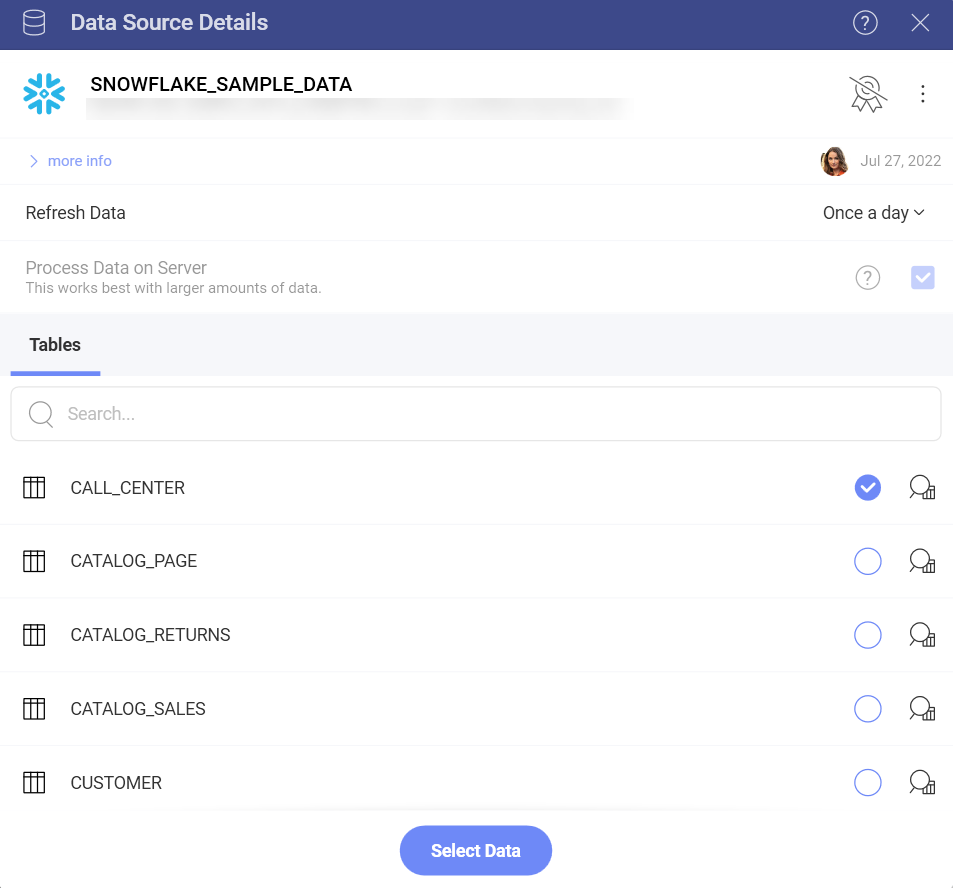
You are now directed to the Visualization editor where you can start building your visualizations with the data retrieved from Snowflake.