Sybase
[!NOTE] Limitations in Web. In the Analytics Web app, you can connect only to publicly accessible Sybase addresses. If your Sybase address is restricted for the general public (private or hosted in the company's intranet, for example), you can use Analytics Desktop, iOS or Android to connect to it. The device where you're running Analytics needs to have access to this Sybase address. This limitation does not apply to Analytics Embedded.
Connecting to Sybase
To configure a Sybase server data source, you will need to enter the following information:
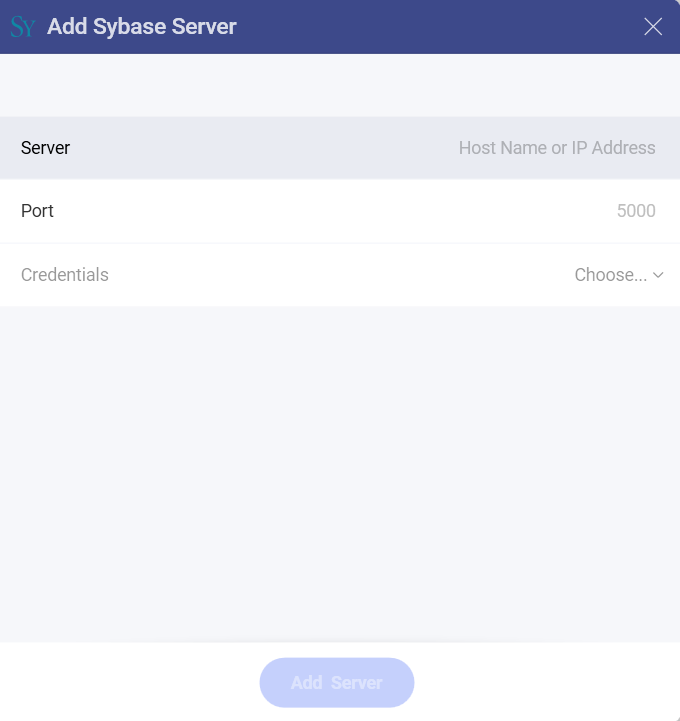
Server: the computer name or IP address assigned to the computer on which the server is running.
Port: if applicable, the server port details. If no information is entered, Analytics will connect to the port in the hint text (5000) by default.
Credentials: after selecting Credentials, you will be able to enter the credentials for your Sybase server or select existing ones if applicable.
Username: the user account for the Sybase server or the name of the domain.
Password: the password to access the Sybase server.
Alias: the name for your data source account. It will be displayed in the list of accounts in the previous dialog.
Once ready, select Add and then Add Server.
How to find your Server Information
You can find your server by following the steps below. Please note that the commands should be executed on the server.
| WINDOWS | LINUX | MAC |
|---|---|---|
| 1. Open the File Explorer. | 1. Open a Terminal. | 1. Open System Preferences. |
| 2. Right Click on My Computer > Properties. | 2. Type in $hostname | 2. Navigate to the Sharing Section. |
| Your Hostname will appear as "Computer Name" under the Computer name, domain and workgroups settings section. | Your Hostname will appear along with your DNS domain name. Make sure you only include Hostname in Analytics. | Your Hostname will be listed under the "Computer Name" field on top. |
You can find your IP address by following the steps below. Please note that the commands should be executed on the server.
| WINDOWS | LINUX | MAC |
|---|---|---|
| 1. Open a Command Prompt. | 1. Open a Terminal. | 1. Launch your Network app. |
| 2. Type in ipconfig | 2. Type in $ /bin/ifconfig | 2. Select your connection. |
| IPv4 Address is your IP address. | Inet addr is your IP address. | The IP Address field will have the necessary information. |
Setting Up Your Data
Working with Views
With Analytics, you can retrieve Sybase data from entire tables, but you can also select a particular view that returns a subset of data from a table or a set of tables instead.
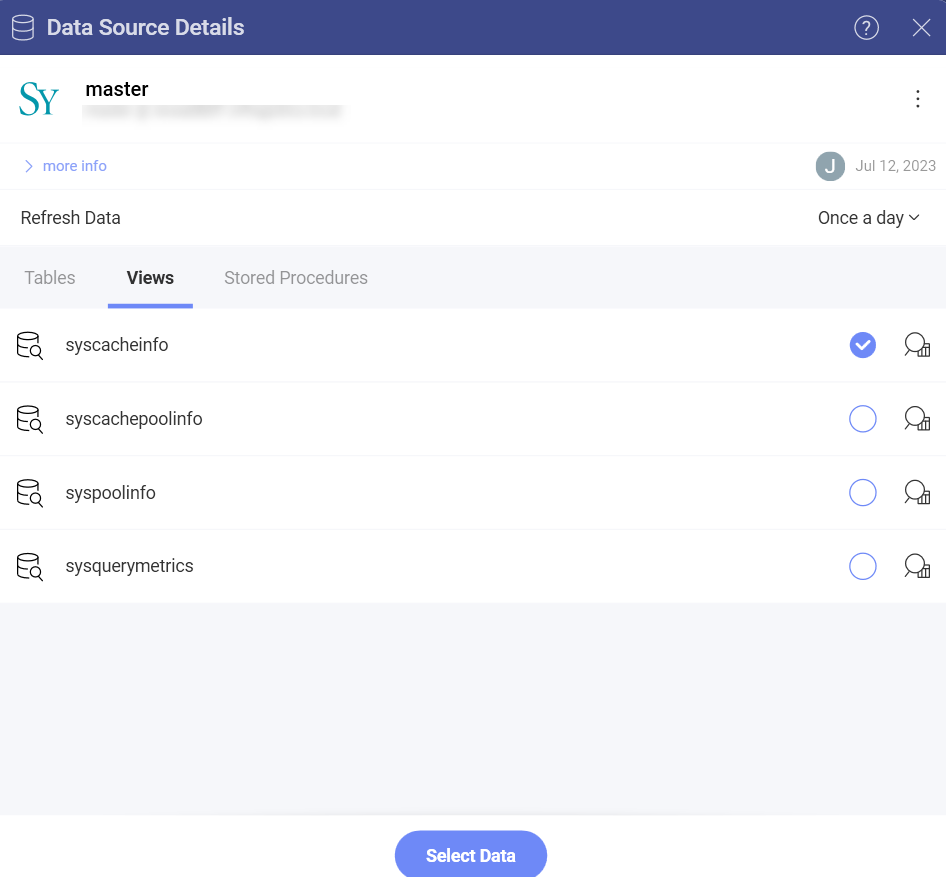
The syscacheinfo view, for example, contains information about the cache, taken from one of the tables in the database.
Working with Stored Procedures
In Sybase, stored procedures allow users to run a set of query statements in a relational database with specific parameters.
In this case, for example, the stored procedure requires users to set @name range value.
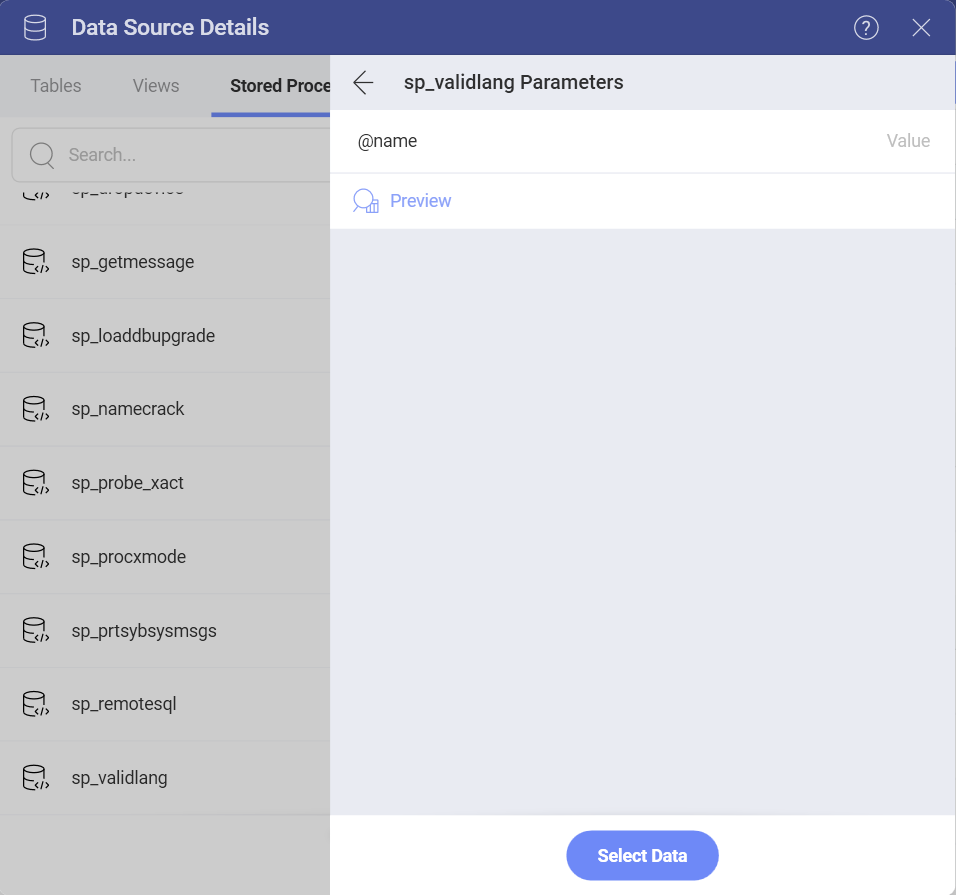
For more information on Stored Procedures and Sybase, visit this documentation website.
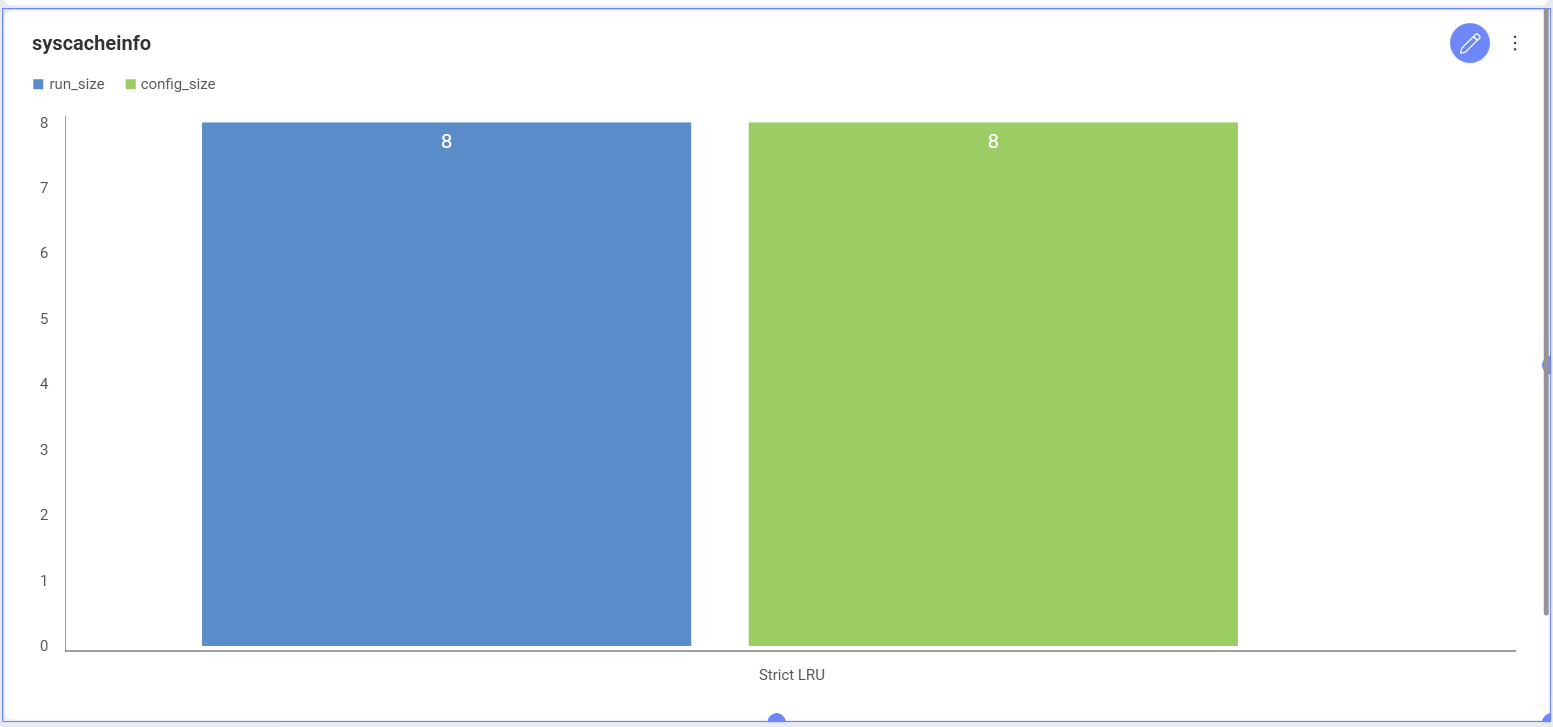
Working in the Visualization Editor
Once your data source has been added, you will be taken to the Visualization Editor. Here you can build your dashboard. By default, the Column visualization will be selected. You can select it in order to choose another chart type.
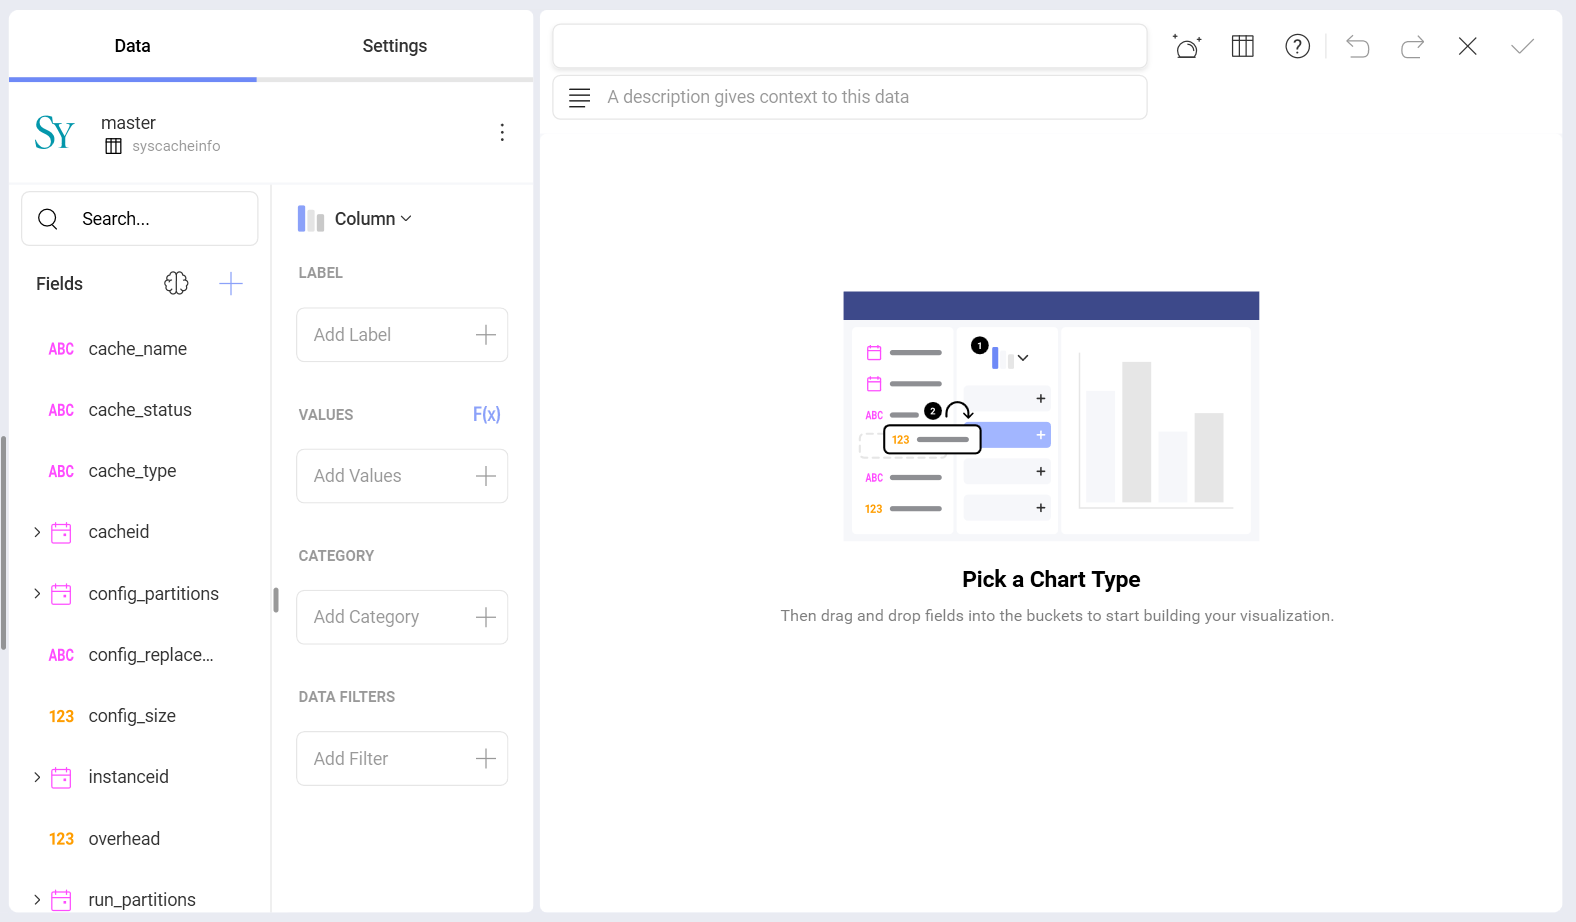
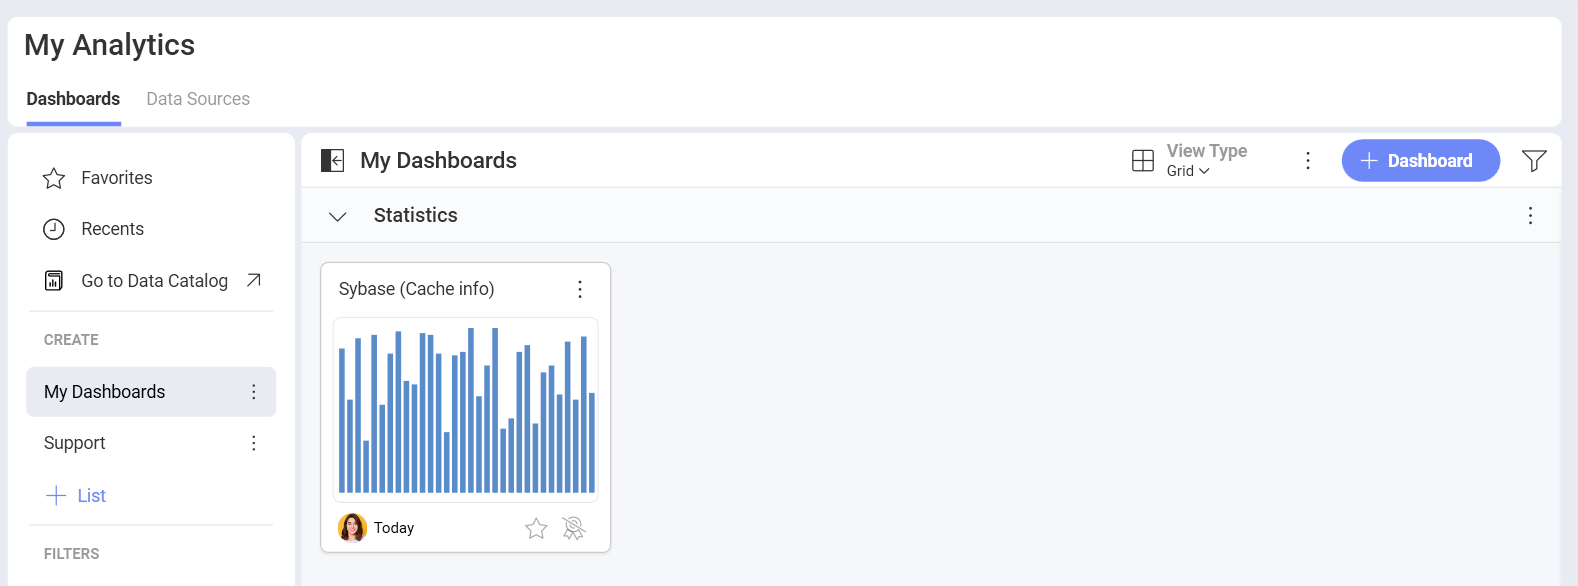
When you are ready with your visualization, you can save it as a dashboard by clicking/tapping on the checkmark in the top right corner. In this case we saved the dashboard in My Analytics ⇒ My Dashboards ⇒ Statistics.